Introduction:
Azure Active Directory B2C (Azure AD B2C) is a powerful identity and access management service designed for customer-facing applications. Configuring a custom domain for your Azure AD B2C tenant allows you to replace the default *.b2clogin.com domain with your own branded domain, providing a more professional and consistent user experience.
In this article, I will walk you through the process of configuring a custom domain for Azure AD B2C. From understanding the prerequisites to validating and finalizing the setup, this guide will equip you with the steps needed to enhance the branding of your applications while ensuring a secure and reliable identity solution.
Configure Custom Domain
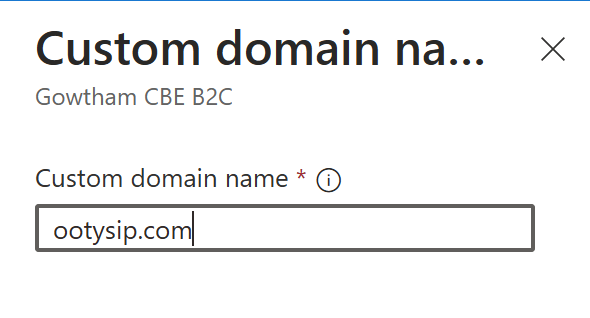
Log in to the Azure AD B2C directory and go to Microsoft Entra ID. Under the Manage section, go to Custom Domain name.
Click on Add Domain and add your custom domain name as shown in the below figure
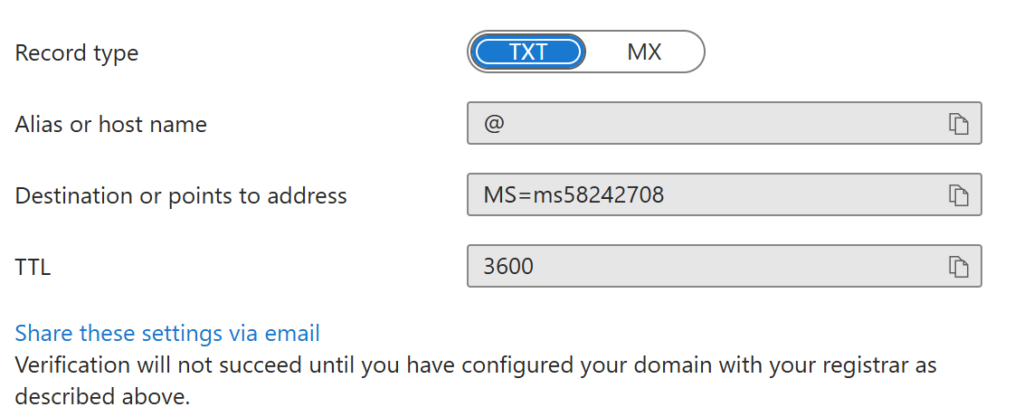
Le’s complete domain ownership verification. My domain service provider is GoDaddy, if yours is also GoDaddy please select the domain and go to Domain Management to add a new record. The record has been added to DNS, as shown in the figure below.

Go back to the Azure portal and click on verify. Once the domain is verified, its status should be changed to available, as shown in the figure below.

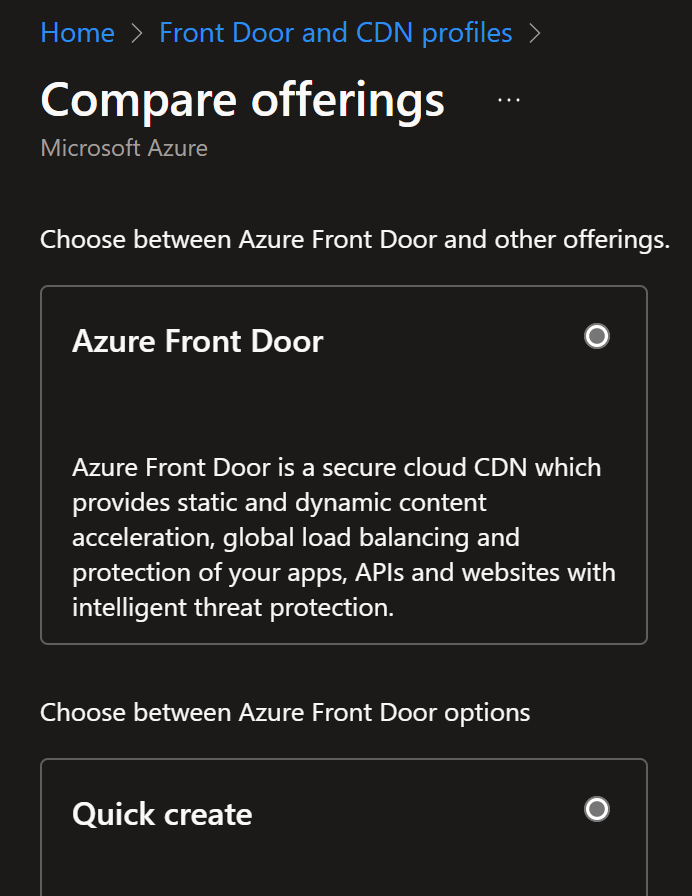
Create a Front Door Resource in Azure
Azure Front Door acts as the entry point for the custom domain traffic, seamlessly mapping requests from the custom domain to the Azure AD B2C endpoints, while abstracting the underlying Azure infrastructure.
Search for a front door resource in Azure and follow the below steps
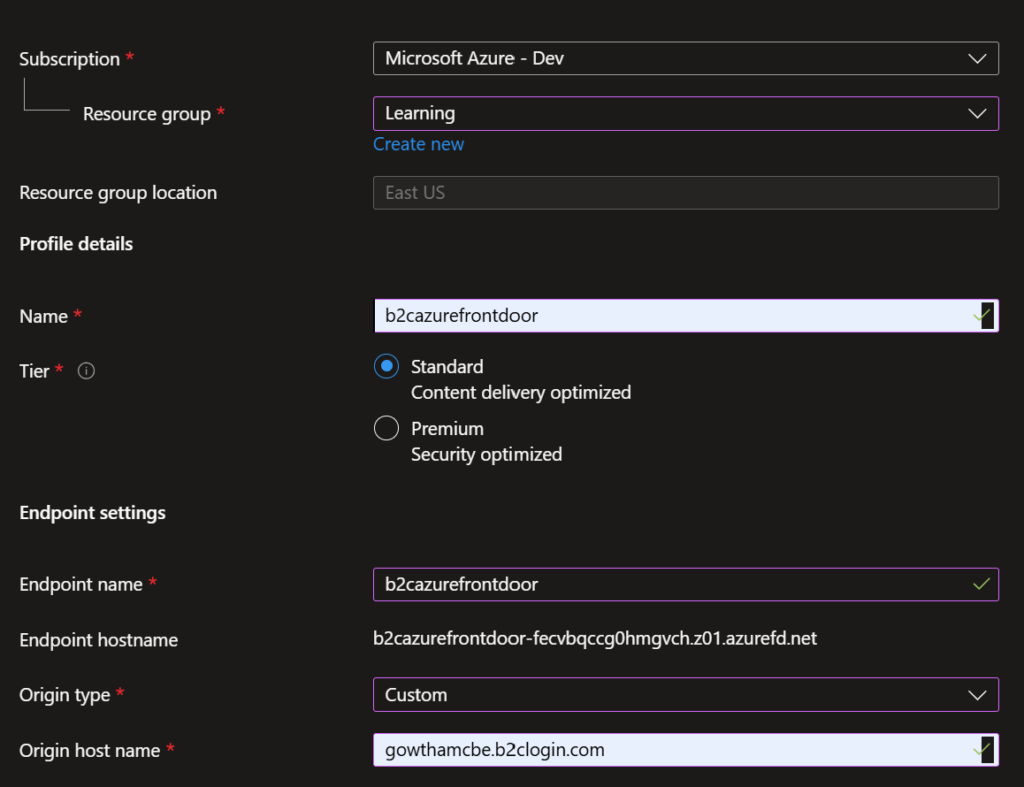
Complete the essential information.
- Subscription -> Select your Azure subscription.
- Resource Group -> Select an existing resource group or create a new one
- Name -> Give your profile a name; in my case, I named it b2cazurefrontdoor.
- Tier -> You can select either the Standard or Premium tier. The Premier tier is recommended for production, as it is more focused on security and has features like WAF, Private linking, and more, but for demo purposes, I went with the Standard tier.
- Endpoint name -> Enter a globally unique name for your endpoint, such as b2cazurefrontdoor. The Endpoint hostname is generated automatically.
- Origin type -> Select Custom
- Origin hostname -> Enter <tenant-name>.b2clogin.com. Replace <tenant-name> with the name of your Azure AD B2C tenant. In my case, it is gowthamcbe.b2clogin.com.
- Click on finish and create.
- After the resource creation go to settings -> Domain
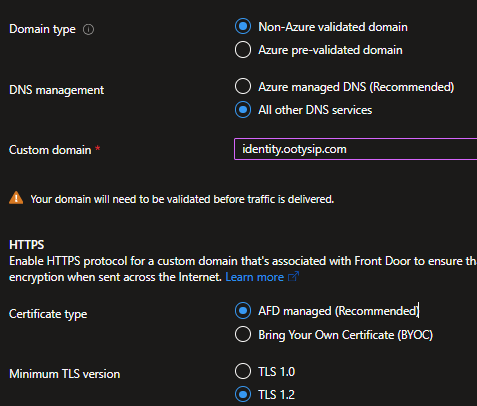
- Select Add a Domain
- For DNS management, select All other DNS services
- For a Custom domain, enter your custom domain, such as identity.gowthamcbe.com
- Keep the other values as defaults, and then select Add. Your custom domain is added to the list.
- Under the Validation state of the domain you just added, select Pending. A pane with information on a TXT record opens.

- Sign in to the domain provider’s website for your custom domain
- Find the page for managing DNS records by consulting the provider’s documentation or searching for areas of the website labeled Domain Name, DNS, or Name Server Management
- Create a new TXT DNS record and complete the fields as shown below:
- Name: _dnsauth.identity.ootysip.com, but you need to enter just _dnsauth.
- Type: TXT
- Value: Something like _f2twk123t48y2qrtsz2bvk….

- After you add the TXT DNS record, the Validation state in the Front Door resource will eventually change from Pending to Approved. You may need to reload your page before the change happens.
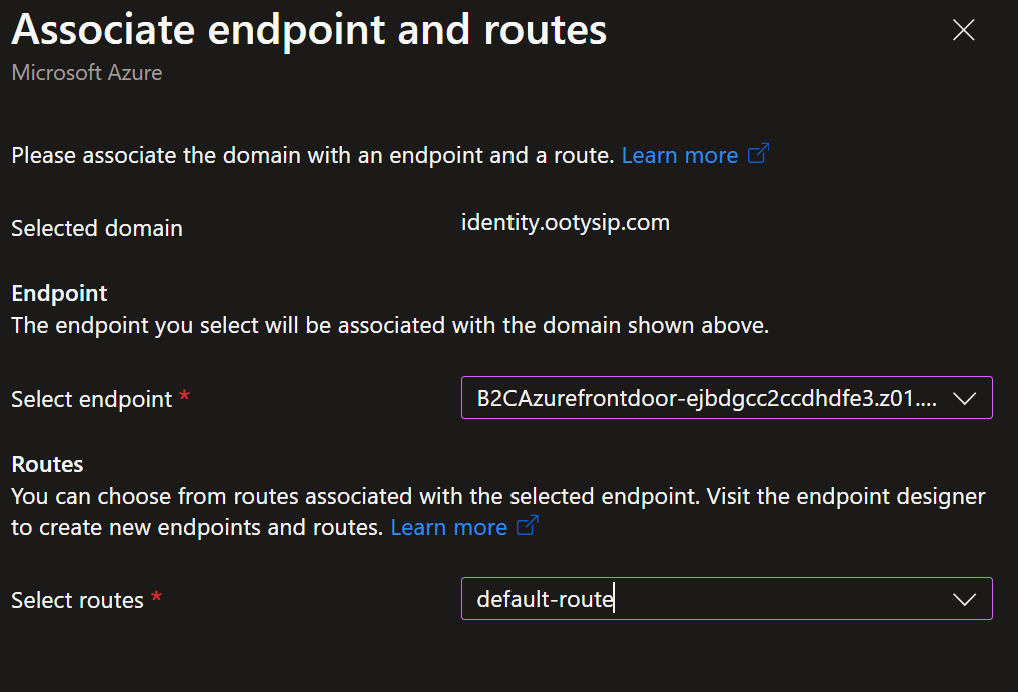
- Go back to your Azure portal. Select the newly created Azure Front door and select Domain from the settings. Open the context menu from the newly created domain identity.ootysip.com and select Associate.

- select the hostname endpoint from the dropdown menu to select an endpoint
- To select the routes list, select the default route and then select Associate.
Add CNAME Record in your DNS

Test the Custom Domain
- Switch back to the Azure portal and select the Azure AD B2C
- Select User Flows under the Policies section. Run the user flow
- Copy the URL, replace it with a custom domain, and test the flow.
In my case, it is
Summary:
Configuring a custom domain for Azure AD B2C allows organizations to replace the default *.b2clogin.com domain with a branded domain, enhancing the user experience and reinforcing trust through consistent branding. This article provides a step-by-step guide to setting up a custom domain for Azure AD B2C, covering prerequisites like domain verification, configuring DNS settings, linking the custom domain to your tenant, and validating the setup. With detailed instructions and best practices, this guide ensures a seamless configuration process, enabling you to deliver a polished and professional identity experience for your applications.

Leave a Reply